The Ultimate Guide:
How To Prepare Your Floor For A New Polyaspartic Concrete Coating
Hello from the team at Floortek Coatings! We know you’re asking, "How to prepare your floor for a new polyaspartic concrete coating?" That's a great question, and honestly, it’s the most important question you can ask. With our team's extensive knowledge and experience, we're here to guide you through the process.
A beautiful, glossy floor is excellent, but the real magic is in the prep work underneath. The preparation is about 90% of the job. It's the one step that determines whether your floor will look amazing for decades or peel up in a year. Understanding this crucial step empowers you as a homeowner to make the right decisions for your property.
We've seen it all. Homeowners call us to fix peeling, flaking, and yellowing floors all the time. The problem wasn't the product they thought they were getting—it was almost always a cheap epoxy job with terrible, shortcut-based preparation.
At Floortek, we do things differently. Our advanced polyaspartic floor coating systems are designed to last for the life of your home. They are more flexible, more durable, and look better than old-school epoxy. But they demand proper prep. Rest assured, with our systems, you can have peace of mind about the longevity of your floor.
This guide will show you the professional way to prepare your floor. It’s the exact process we use to give our customers a floor that is truly 10x better than epoxy. And the best part? We handle the entire process as part of our 1-day garage floor coating service.
Keep reading to see the right way to get your floor ready. As a thank-you for learning with us, we're currently offering 30% off on your first installation!
Why Your Floor Prep Determines Everything
To understand why prep matters so much, think of your concrete floor as a hard sponge. Up close, it’s full of tiny holes and pores.
A polyaspartic garage floor system is designed to do more than sit on top of the concrete. It needs to dive deep into those pores and "bite" into the concrete, forming a permanent chemical bond with the slab itself.
Here’s the problem: that concrete "sponge" is almost always sealed off. New concrete has a thin, weak surface layer called "laitance." Older concrete is contaminated with dirt, oil, road salt from harsh winters, and, often, a clear sealer applied by the builder.
If you clean the floor and roll on a coating (like most DIY epoxy kits tell you to), you’re just "gluing" your new floor to that weak, dirty top layer. As soon as that layer fails, your coating peels right off. You’ve probably seen it—it’s called "hot-tire pickup," and it’s the #1 complaint with epoxy floors.
Our preparation process is all about removing the entire top layer to reach the strong, virgin concrete underneath. This is the main point in the polyaspartic vs epoxy garage floor debate. We prepare the foundation so our coating can grab on and never let go.
The "Prep" Method That Guarantees Failure: Acid Etching
Let's talk about the competitor's method. Most garage resurfacing epoxy kits and budget installers will tell you to "acid etch" the floor. This involves mixing muriatic acid with water and pouring the mixture onto your concrete.
We're telling you right now: acid etching is a recipe for failure.
There are so many problems with this method:
It’s Dangerous: Muriatic acid produces fumes that can harm you and your family. The Environmental Protection Agency (EPA) lists it as a hazardous substance that requires careful handling and disposal.
It’s Uneven: The acid will react strongly in some spots and weakly in others, leaving an inconsistent surface.
It Doesn't Remove Contaminants: It will not remove old paint, sealers, or deep oil stains. It just weakly cleans the surface.
It Adds Moisture: This is the big one. You're soaking your concrete "sponge" with water, which is the #1 enemy of a coating. You then have to wait days for it to dry, delaying your project.
Acid etching doesn't profile the concrete. It just gives it a weak cleaning. This is a significant reason why " how long does epoxy last is such a short, disappointing answer for many. It’s a shortcut, plain and simple.
H2: How To Prepare Your Floor For A New Polyaspartic Concrete Coating (The Floortek Pro Method)
So, how do the pros at Floortek do it? Our method is clean, dust-free, and 100% effective. It's the only way to prepare your floor for polyaspartic properly.
We break our process into a few critical steps.
Step 1: The Expert Inspection
Before we do anything, we inspect your floor. We don't believe in one-size-fits-all solutions. Our team leader will walk your floor and look for three main things:
Moisture: We use a professional-grade digital moisture meter to test your concrete. If there's too much moisture coming up from the ground (called hydrostatic pressure), no coating will stick. This is very common in Basement coating service projects. If the humidity is high, we can use a special moisture-blocking base coat.
Contaminants: We check for deep oil stains, road salt damage, or old, failing coatings.
Hardness: We test the strength of your concrete. Very old, soft, or "spalling" (flaking) concrete might need extra repair work.
Step 2: Fixing the Flaws (Cracks, Pits, & Spalling)
You can't just paint over damage. A crack in your concrete will always be a crack, and it will show right through your new coating in a few months.
This is a key step in preparing your floor for a new polyaspartic concrete coating.
We don't just "patch" cracks. We "chase" them. Our team uses a 7-inch diamond grinder with a V-blade to cut open every crack and joint. This cleans out any loose debris and creates a new, solid edge for our repair material to bond to.
Then we fill the crack with our own fast-curing, flexible polyurea mender. This isn't a hard patch from a hardware store. It's a flexible material that cures in about 15-20 minutes. This means it can move with your concrete as the ground shifts and temperatures change (think of hot summers and freezing winters). This stops the crack from ever coming back.
Step 3: Mechanical Diamond Grinding (The "Secret Sauce")
This is the most crucial step in the entire process. We do not use acid. We use professional diamond grinding.
Our team uses heavy-duty, industrial-grade concrete grinders. These machines don't "sand" the floor. They use rotating discs equipped with diamond-tipped blades to remove the top 1/16 inch of your concrete physically.
This process does everything acid etching can't:
It removes 100% of old sealers, paints, oils, and salt contamination.
It grinds down any high spots and smooths the floor.
Most importantly, it "profiles" the concrete. It creates a perfectly porous, firm surface that feels like 80-grit sandpaper.
This new, clean, and firm surface is ready to form a permanent, unbreakable bond with our polyaspartic garage floor coatings. This is why our floors don't peel. We are bonding to the real concrete, not the weak surface.
Step 4: HEPA Vacuuming (A Truly Dust-Free Process)
Grinding concrete produces a lot of fine dust (silica). This dust is the enemy of a good bond. If you use a shop-vac, you'll blow 90% of that fine dust right back into the air. It will settle back onto the floor, onto your walls, and into your lungs.
This dust is not just messy; it's a health hazard. The Occupational Safety and Health Administration (OSHA) has strict rules about silica dust because it's dangerous to breathe.
Our grinding machines are all attached to industrial-sized, triple-HEPA-filtered vacuums. These systems capture 99.9% of all dust right at the source. It never even gets into your air.
After grinding is complete, we perform a detailed vacuum of the entire floor, walls, and all ledges. We even use a 7-inch hand grinder with a HEPA vacuum attachment to get every single edge and corner, right up to the wall.
When we're done, your floor is cleaner than when we started. This meticulous cleaning is a critical step in preparing your floor for a new polyaspartic concrete coating.
H3: Step 5: The Final Wipe-Down
Right before we're ready to mix our first base coat, we do one last step. We wipe down the entire floor with a fast-evaporating solvent. This "pops" the pores of the concrete, making them extra receptive. It also removes any remaining dust.
Now, and only now, is your floor truly ready.
All This Prep in Just One Day?
This process sounds like it takes a week. This is the real beauty of the Floortek polyaspartic system.
Because we use this professional-grade equipment, our teams are incredibly efficient. The grinding and repair process takes just a few hours in the morning.
Our crack filler cures in 20 minutes, not 24 hours.
Our polyaspartic garage floor coating base coat cures in about an hour, not a whole day like epoxy.
This is the polyaspartic garage floor coating vs epoxy difference. An epoxy installer has to come back 3, 4, or even 5 days in a row.
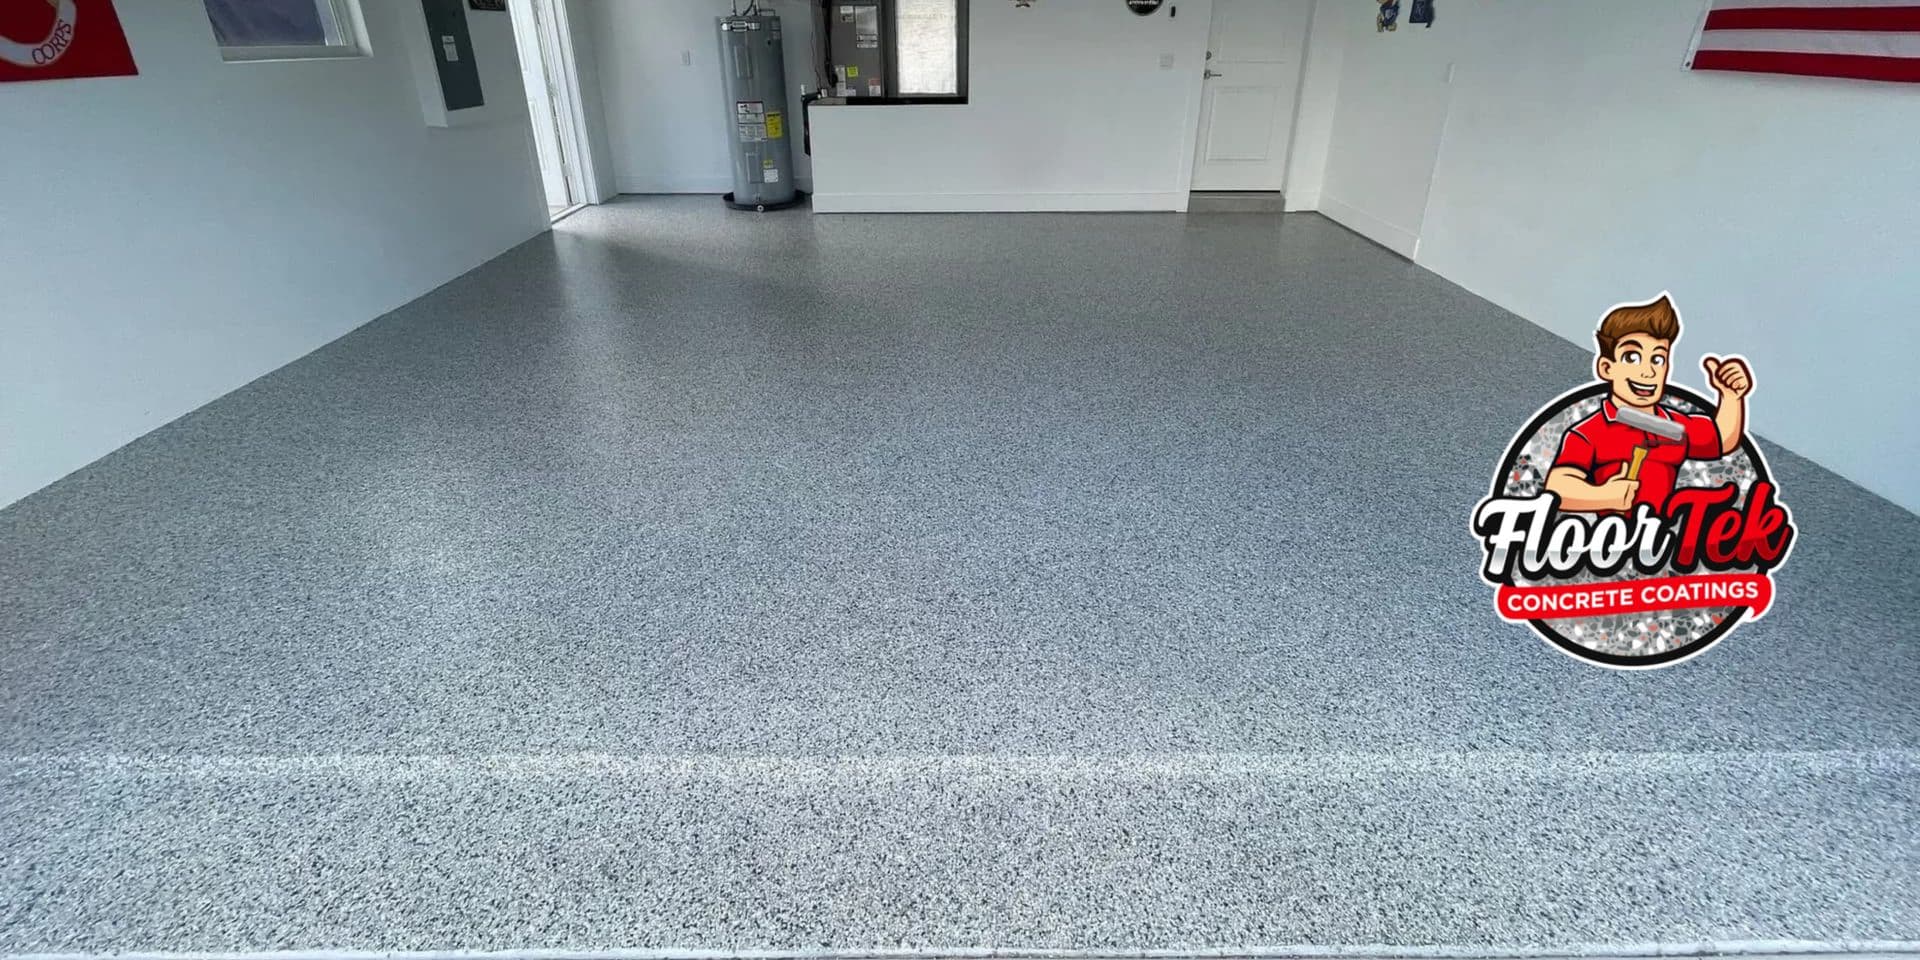
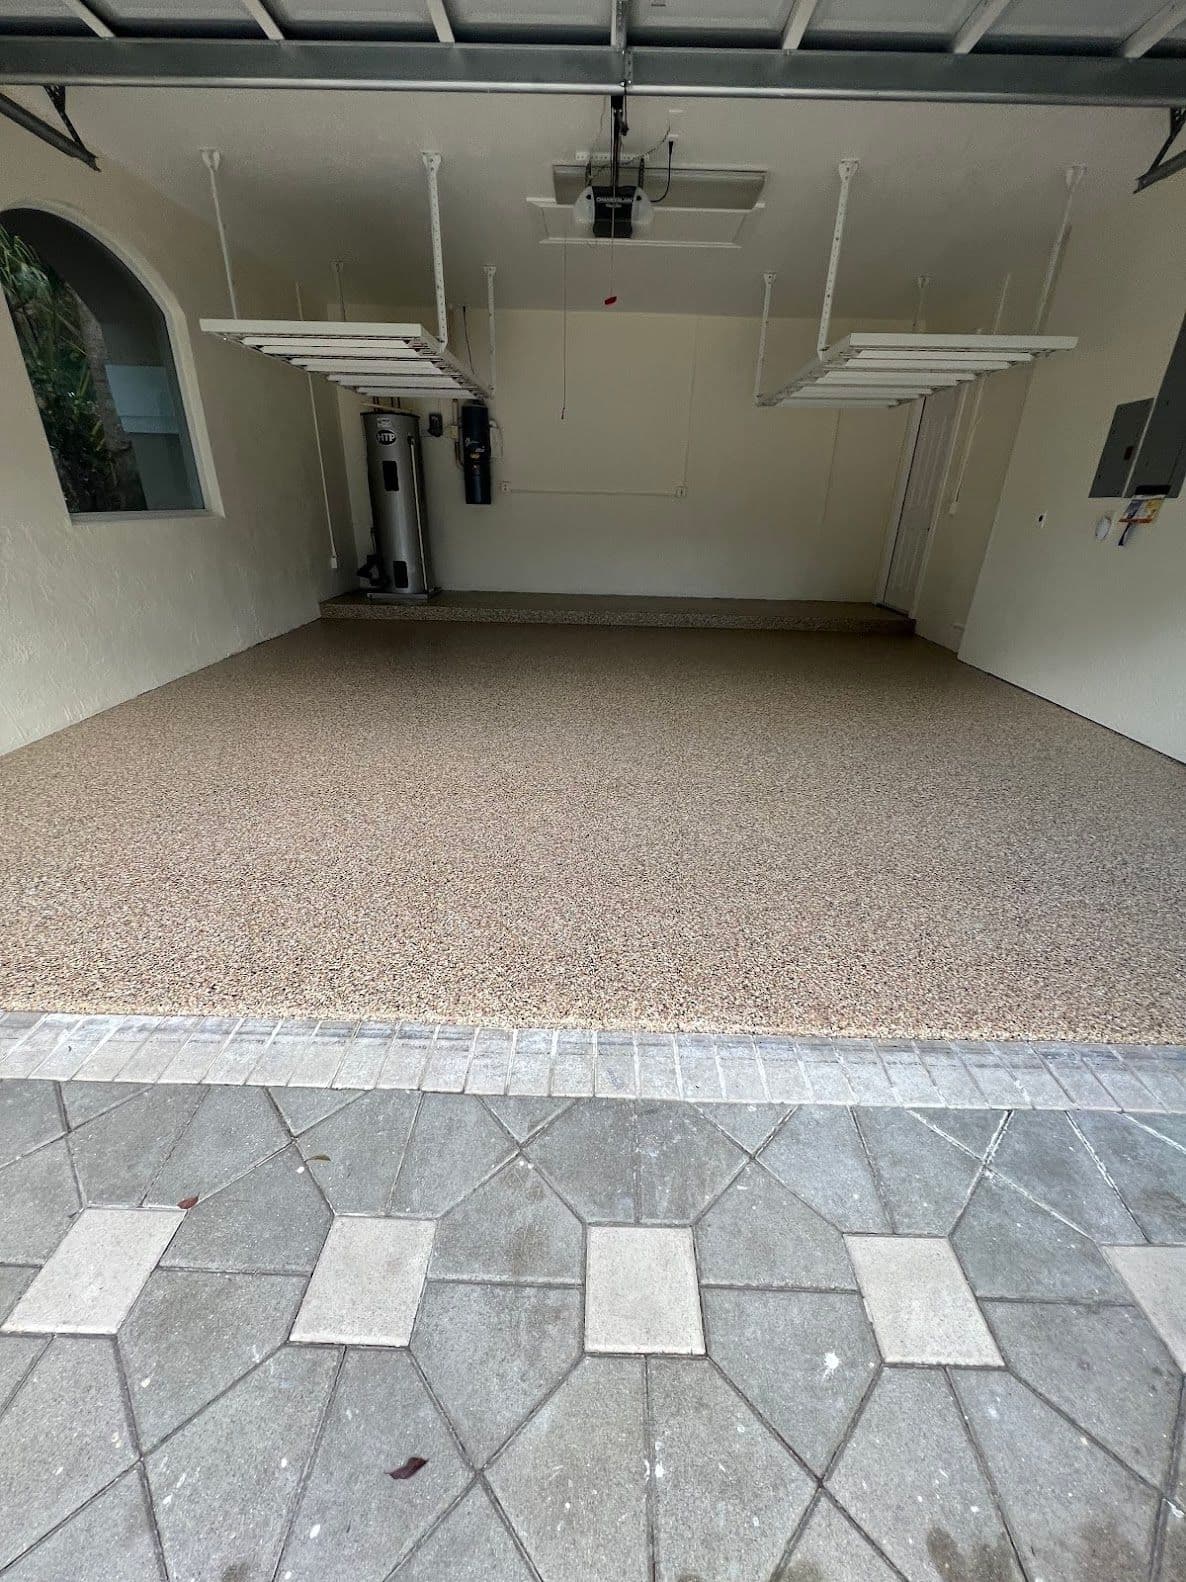
We do the entire job—prep, base coat, vinyl flake broadcast, and UV-stable top coat—in one single day. You can walk on your new floor by that evening and park your car on it 24 hours later.
Your Floor is Prepped. Here’s What Happens Next.
Once the preparation is perfect, the fun part begins.
Base Coat: We mix and apply our 100% polyurea base coat. This is the layer that sinks deep into the profiled concrete, forming that powerful bond.
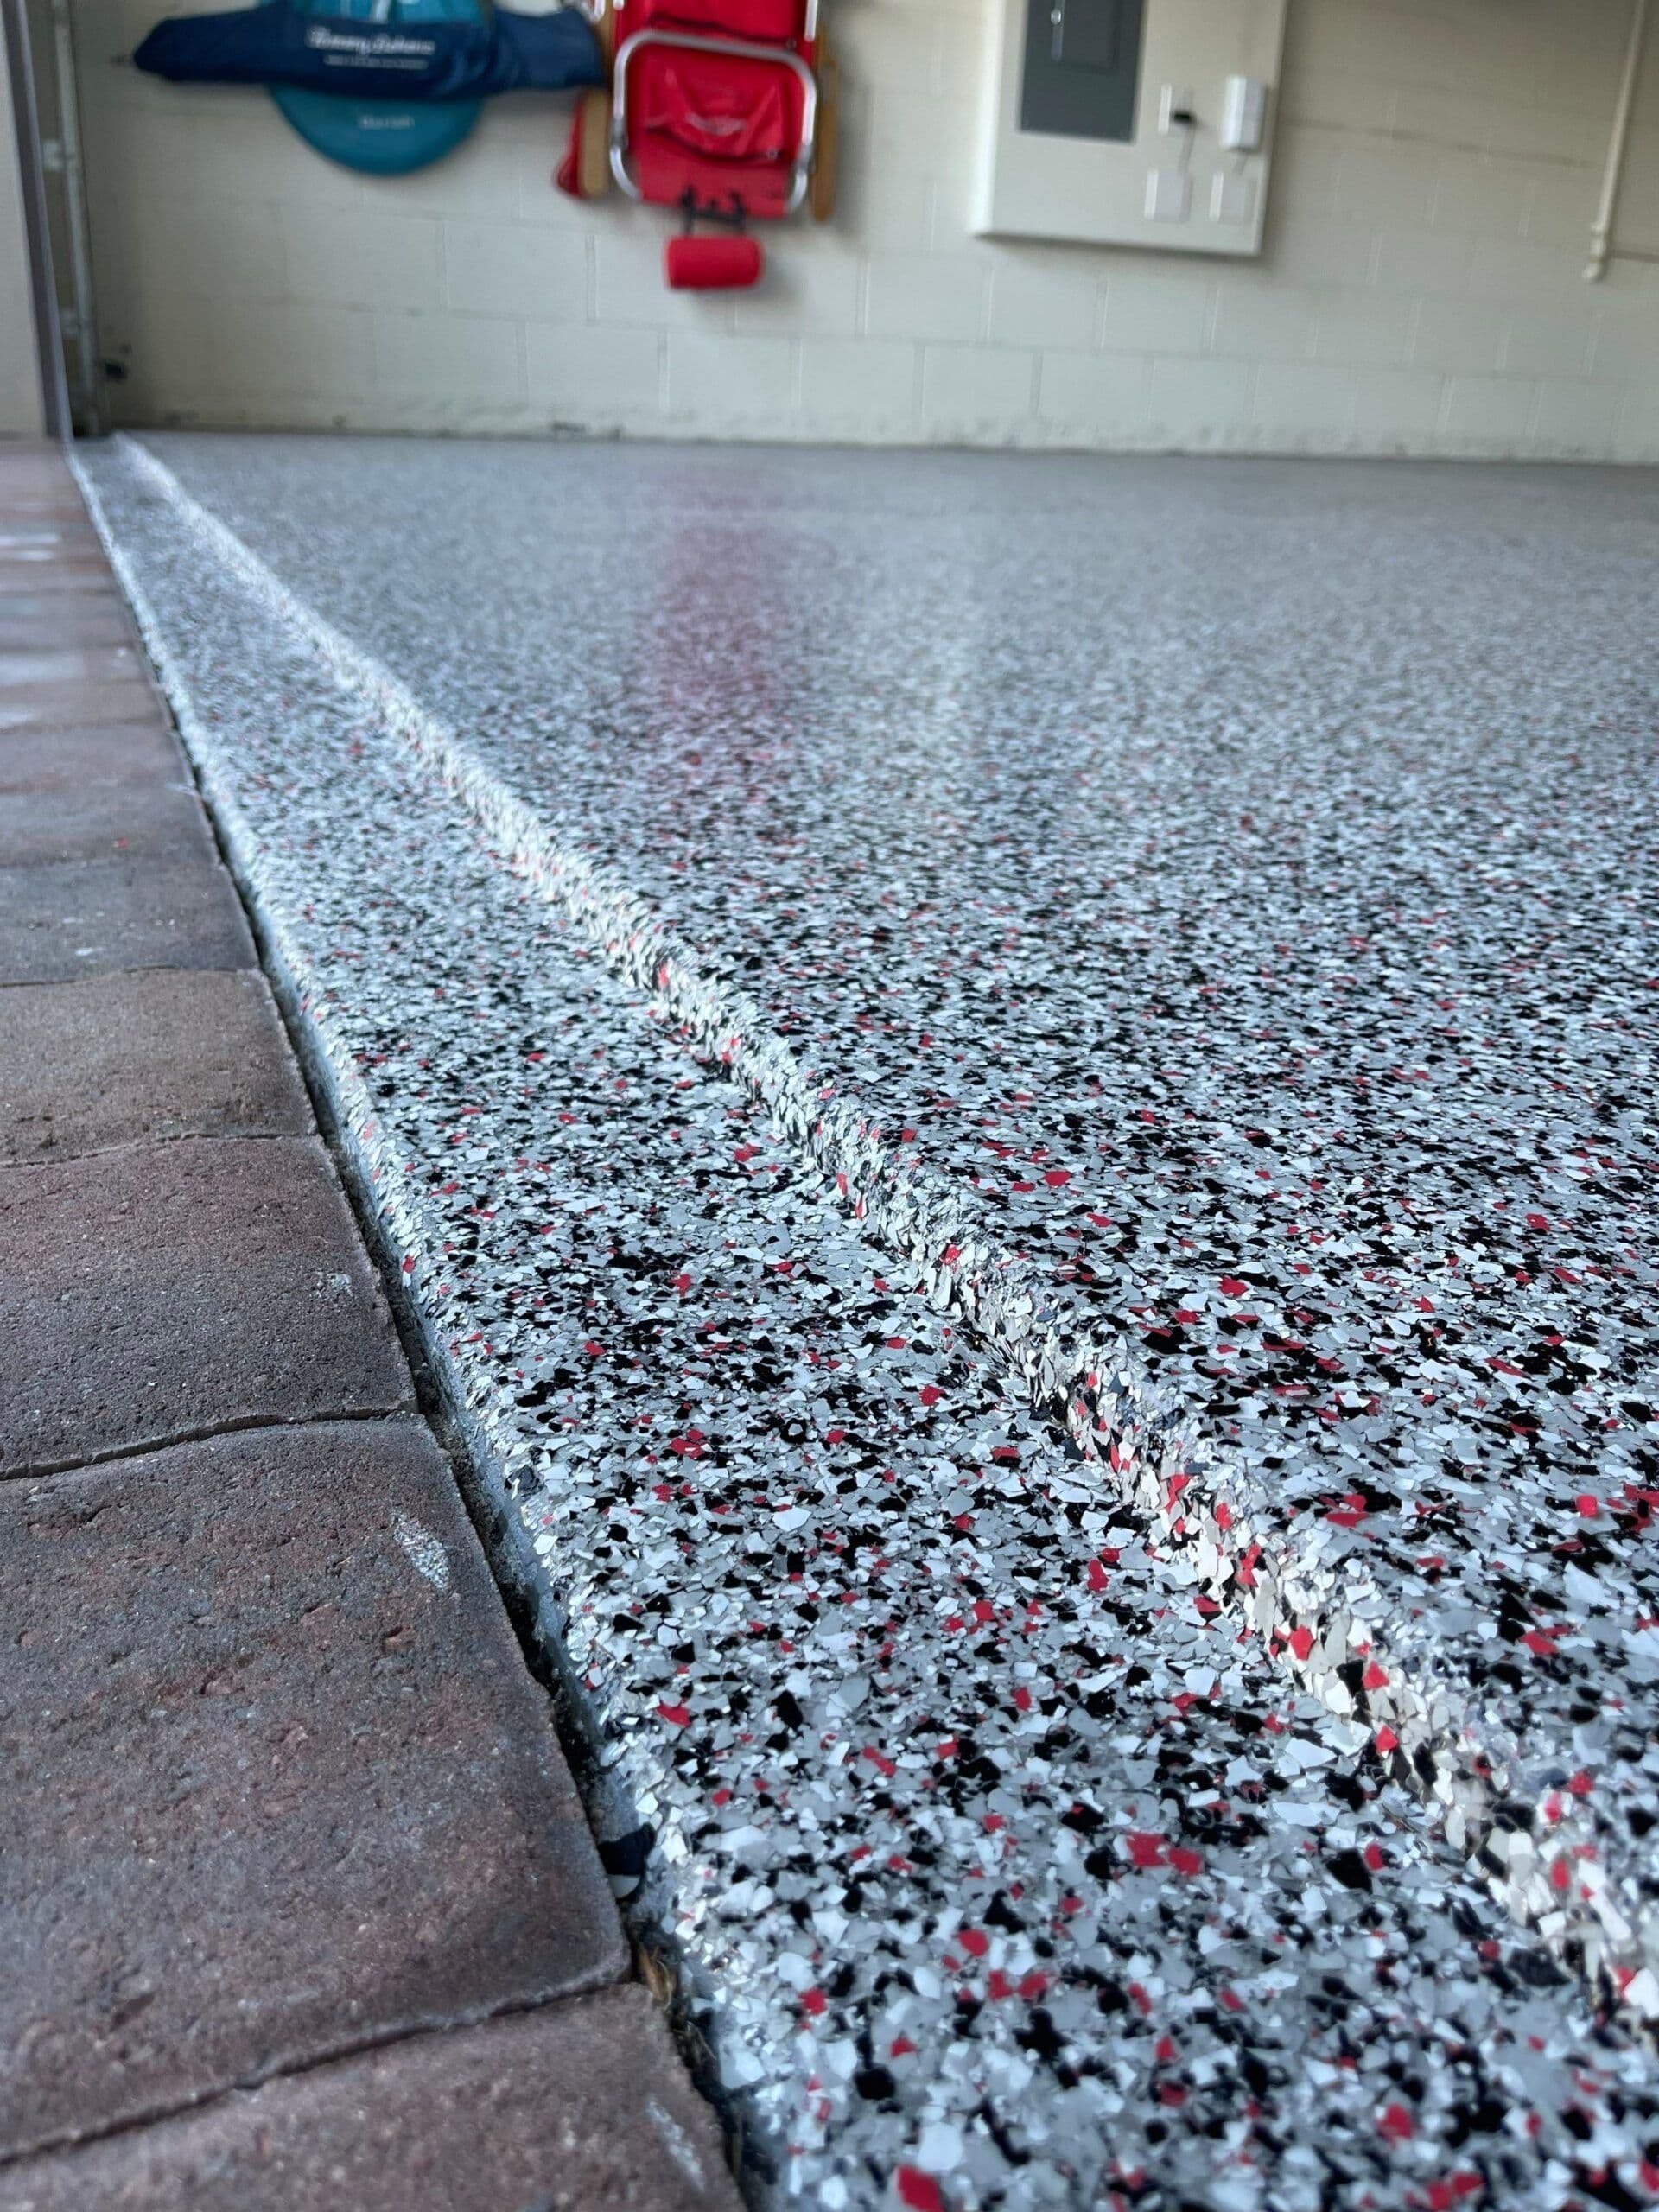
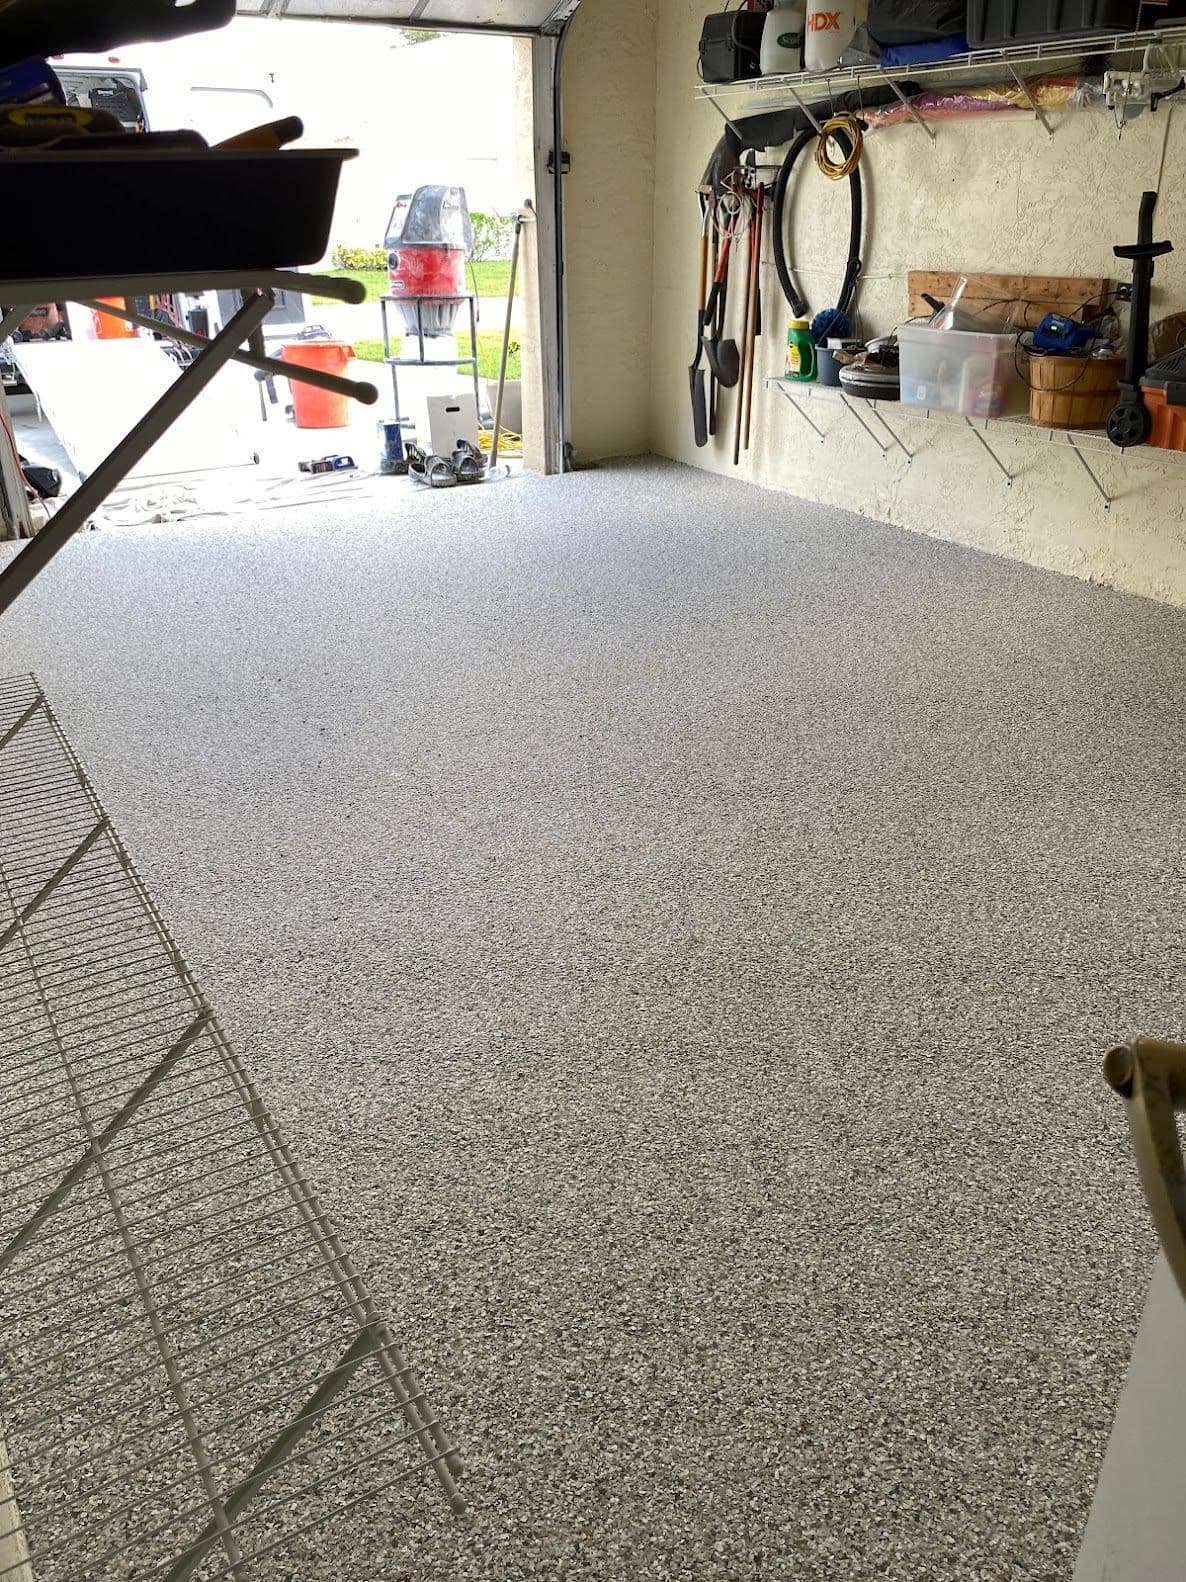
Flake Broadcast: While the base coat is wet, we broadcast a complete layer of your chosen vinyl flakes. This is what gives your floor its color and texture. We have hundreds of Colors and Flake Options to choose from.
Scrape & Vacuum: After the base coat cures (about an hour!), we scrape the floor to remove any loose or standing flakes, then vacuum them up for a perfectly smooth, textured finish.
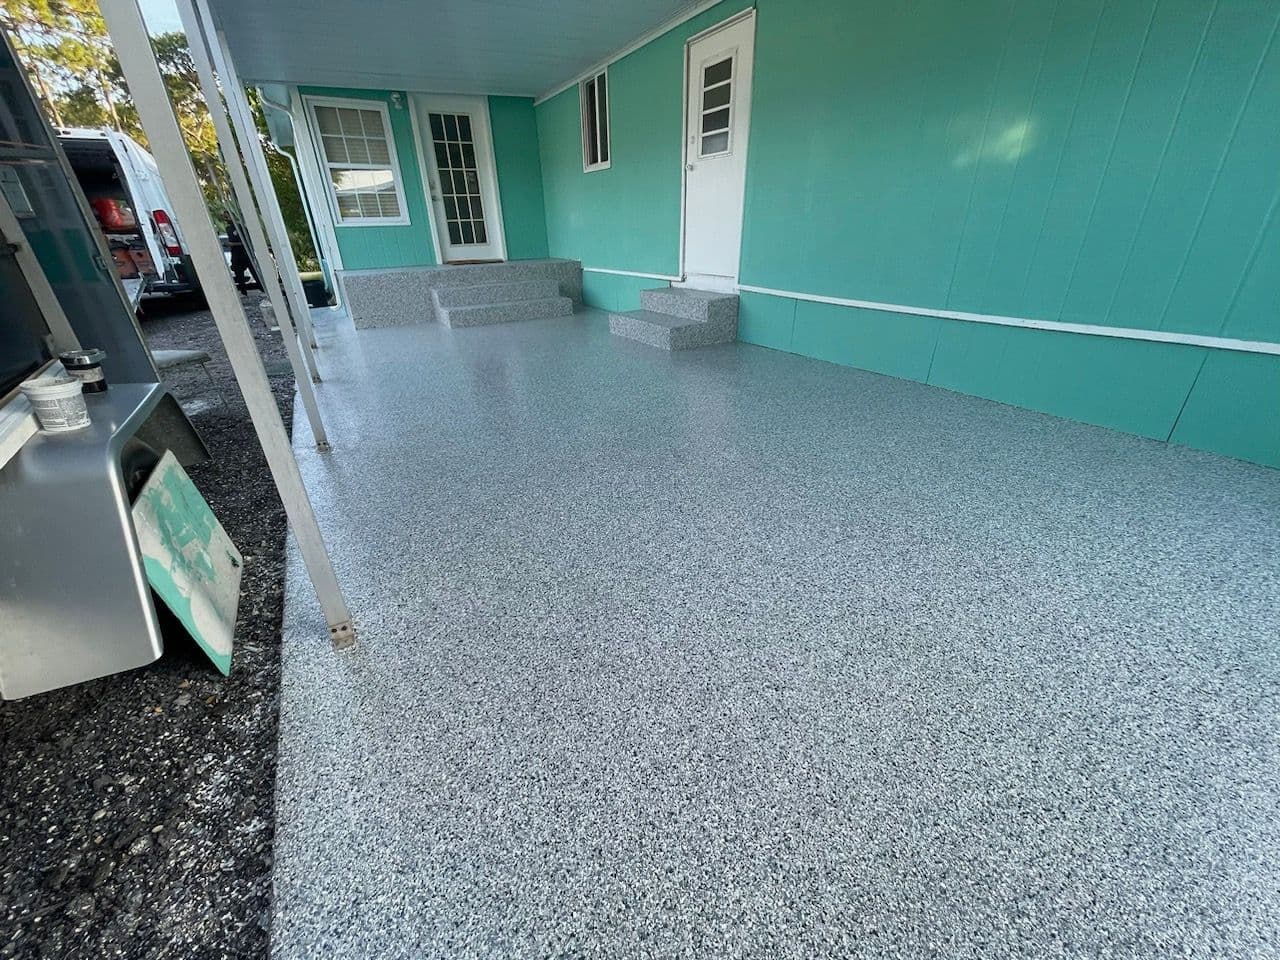
Clear Top Coat: Finally, we roll on our 100% polyaspartic top coat. This is the transparent, tough-as-nails layer that protects your floor. It’s 100% UV stable, so it will never turn yellow or "amber" in the sun like epoxy.
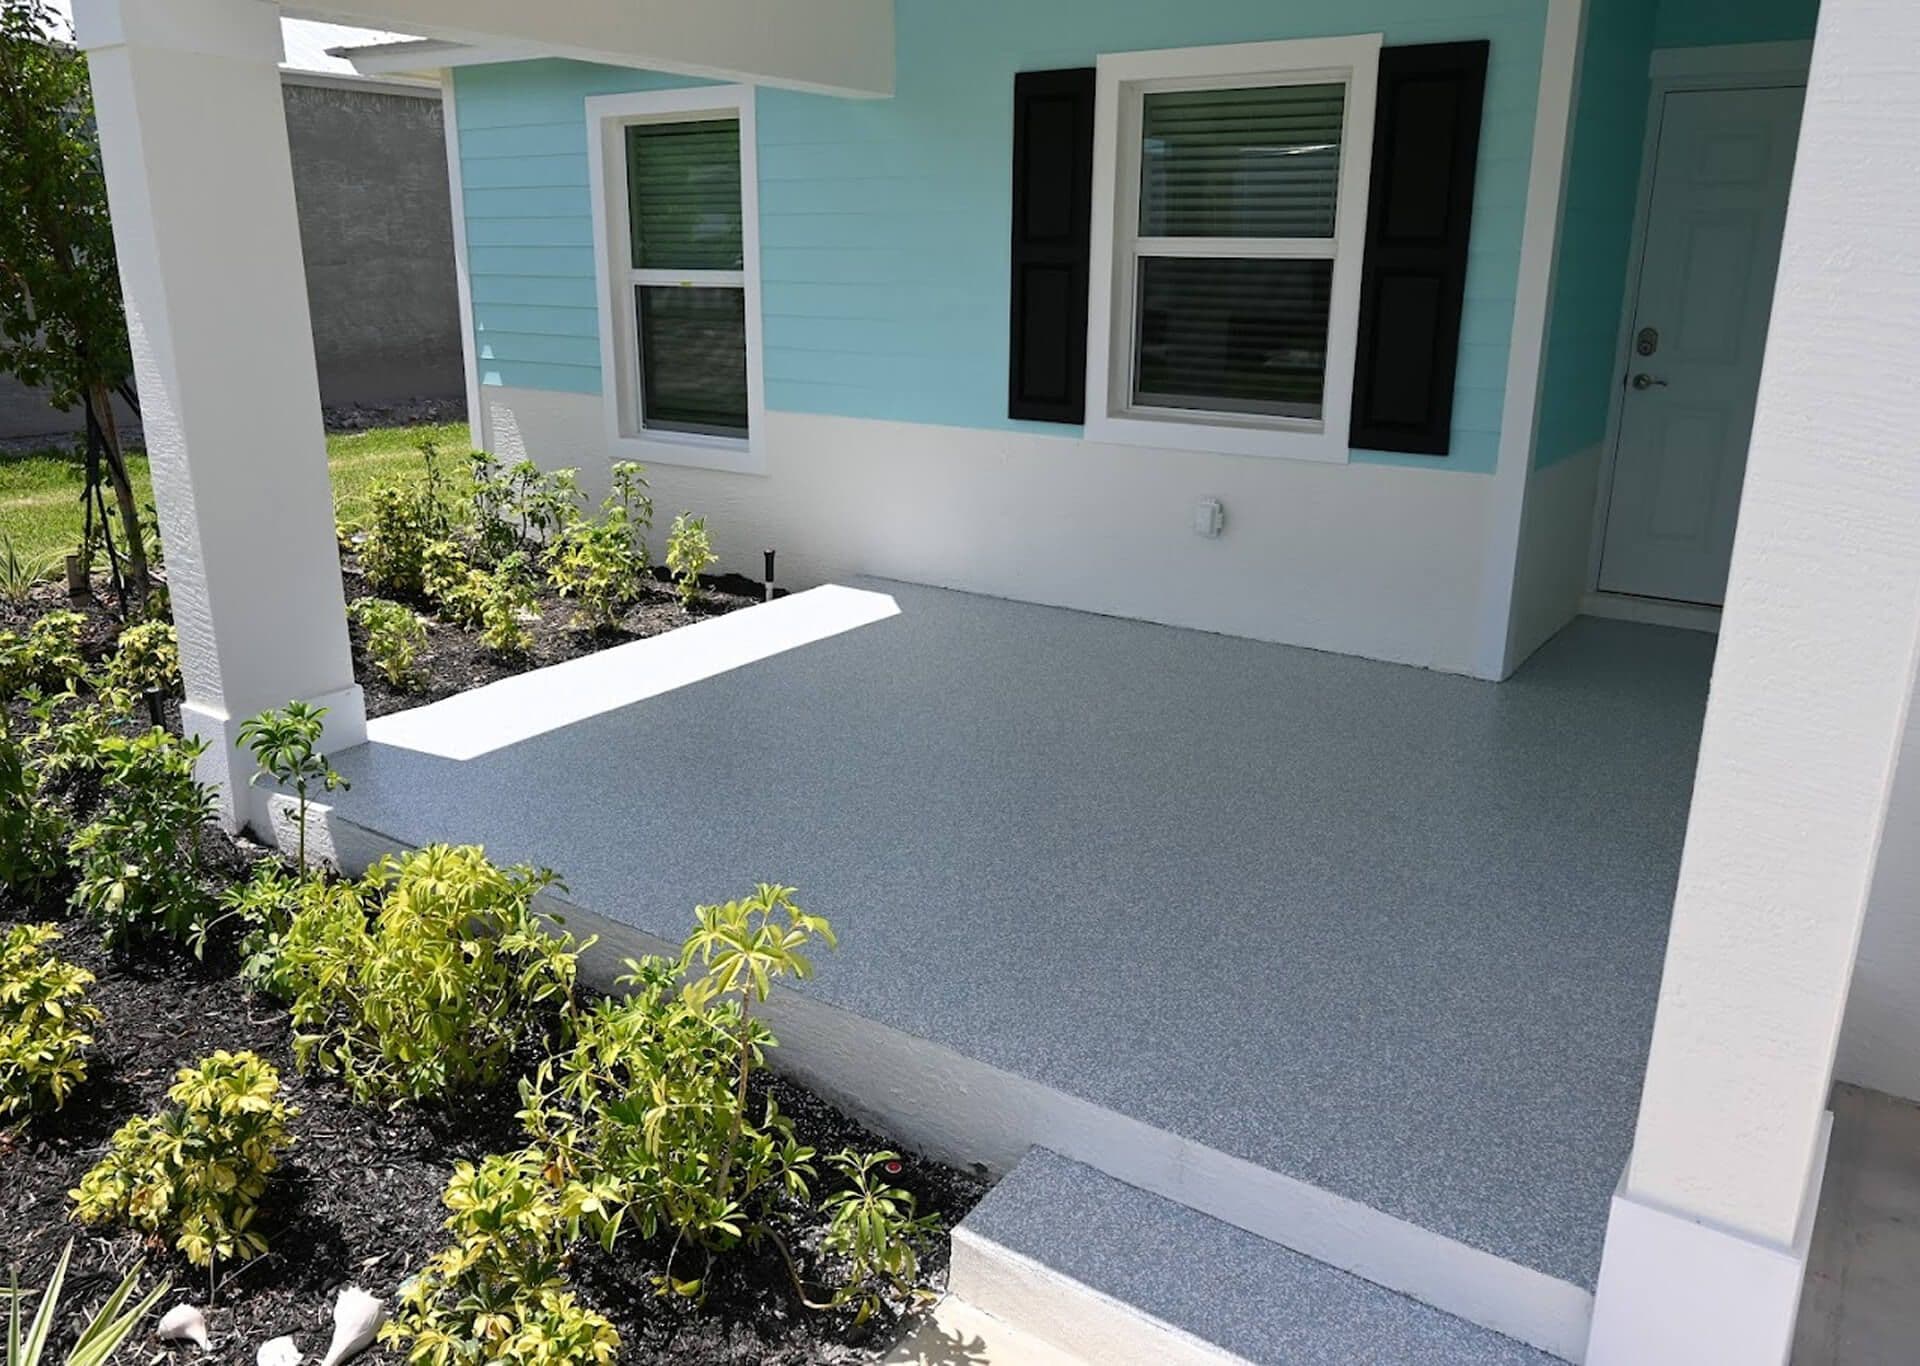
This UV stability is why our system is not just the best garage floor coating, but also the perfect choice for outdoor spaces. It's ideal for patios, pool decks, driveways, and even sidewalk coating. Epoxy can't survive outdoors.
A Quick Word on DIY vs. Professional Prep
We know you're handy, and we respect that. But we've seen too many DIY projects turn into expensive nightmares.
You cannot replicate this preparation process with a DIY kit. Renting a grinder (if you can find one) is difficult, and you won't get the industrial HEPA vacuums to go with it. You'll cover your entire home in hazardous concrete dust.
If you get the preparation wrong, the coating will peel. And fixing a failed DIY job is heartbreaking. We have to be hired to come in and grind off all the peeling material you just applied, before we can even start our own prep.
When you hire Floortek Coatings, you're not just buying Our Coating Products; you're investing in a professional process done right the first time. Your floor is backed by our "Life-of-home warranty." You don't get that from a box at the hardware store.
Stop Dreaming About a New Floor and Get One
The secret to a floor that lasts a lifetime isn't a secret at all. It's just hard work and an unshakeable commitment to doing the prep work right. That's how to prepare your floor for a new polyaspartic concrete coating. You don't take shortcuts.
Please don't settle for a weak epoxy floor that will have you wondering what a polyurea concrete coating is and why you didn't choose it first. Our polyurea coating for garage floor system is 10x better, installs in 1 day, and won't peel or fade.
If you're ready for a beautiful, durable floor, our team is prepared to help. Learn more about us and see our incredible Gallery of completed projects.
For a limited time, we're offering 30% off on your first installation!
This is the perfect time to get the floor you've always wanted.
Contact us today through our website for a Free Quote, or call us right now at (844) 844-4164.
Your Questions Answered: Preparing for a Polyaspartic Coating
1. What is the most crucial step to prepare a floor for a polyaspartic coating?
The most crucial step is mechanical diamond grinding. This process removes the weak top layer of concrete and creates a porous, "profiled" surface that allows the polyaspartic base coat to penetrate and form a permanent bond.
2. Do I really need to grind the concrete for a polyaspartic coating?
Yes, 100%. Any company that doesn't grind the floor is taking a shortcut that will lead to peeling and failure. Grinding is the only way to guarantee a bond that lasts for the life of your home.
3. Why is acid etching a bad way to prepare my floor?
Acid etching is a weak and unreliable method. It doesn't remove old sealers; it's messy; it introduces moisture into the concrete; and it doesn't create the mechanical "profile" (or grip) that a coating needs to bond permanently.
4. Can you apply a polyaspartic coating over an old epoxy floor?
No. We would never coat over an existing epoxy floor. The old epoxy is a weak link; if it peels, our coating will peel with it. The correct process is to use our diamond grinders to completely remove all the old, failing epoxy before we begin preparing the bare concrete.
5. How do you prepare a brand-new concrete floor for coating?
Brand new concrete must be prepared just like old concrete. New slabs have a smooth, weak layer on top called laitance, as well as "curing compounds" that were sprayed on by the builder to help them cure. We must mechanically grind all of that off to get to the strong concrete underneath.
6. How do you fix cracks in the concrete before coating?
We don't just patch cracks. We use a diamond blade to "chase" the crack, cutting it open to create a clean, solid edge. Then we fill it with a flexible polyurea mender that cures in 20 minutes and is stronger than the concrete itself.
7. How long does the floor preparation process take?
For a standard two-car garage, our professional team can complete the entire 5-step preparation process (inspection, crack repair, grinding, HEPA vacuuming, and final wipe) in just 3-4 hours.
8. Will grinding my garage floor make a colossal mess?
No, not with our system. All of our grinders are connected to industrial, triple-HEPA-filtered vacuums that capture 99.9% of all dust. It is a clean, virtually dust-free process that protects your home and air quality.
9. What happens if I don't prepare my floor correctly for a polyaspartic coating?
If the floor is not prepared correctly, the coating will fail. It will peel up, flake, or chip, especially under hot tires. This is the #1 reason epoxy and DIY kits fail.
10. Is the preparation for a polyaspartic coating different from that for epoxy?
A professional polyaspartic installer's prep is far more thorough than what most epoxy installers do. We insist on diamond grinding. Many epoxy installers cut corners with acid etching, which is why their floors fail. Because our polyaspartic system is a premium, life-of-home product, we use a premium, no-shortcuts preparation process to match.
FREE In-Home Estimate
Plus 30% Off
Testimonials
We had both of our garages done and an outdoor concrete platform. The crew was courteous and professional. Everyone from Nancy our salesperson to Patrick, the manager, Logan and his crew were outstanding. Our floors look fantastic and we were very happy we chose this company.
I am very pleased with the quality of work FloorTek has done for me. The two employees that did the actual work were very courteous, worked hard, and explained everything they were doing. Thank you for a great job.
I was happy with the job Floortek did. Good customer communication and customer relationship. My old ugly porch was transformed and I love it. Nancy was very helpful throughout the process. Just know that rain may impact your schedule to make sure the products at highest quality during application.

Contact FloorTek Today